Hey, y’all! Getting gifts for others is something I always enjoy. It’s so much fun thinking about what they will like, shopping or making something for them, and then seeing their reaction when they open their present.
You put a lot of working in getting that special someone the perfect gift so why not make sure it looks amazing when you give it to them? Below I will show you how to wrap the perfect present!
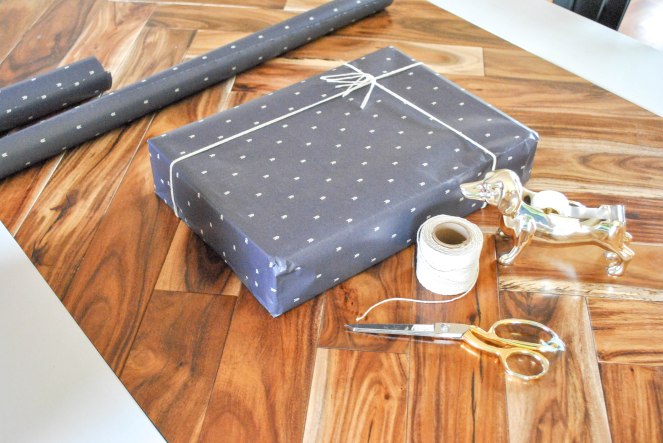
For this gift I chose simple wrapping paper and twine as my ribbon to give this gift a more masculine quality (this gift is for a guy).
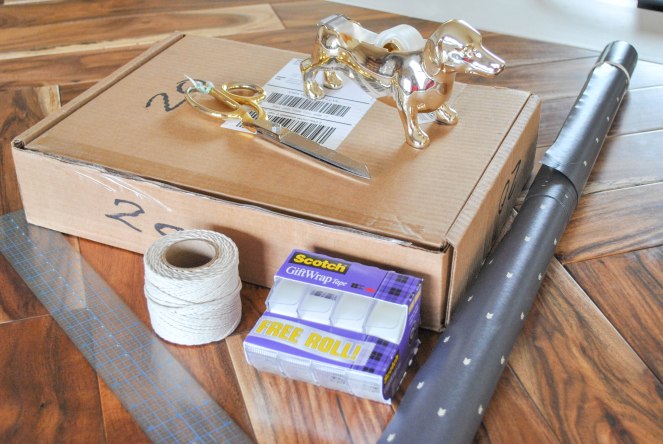
First, gather your supplies. You will need your gift (try and put it in something that is easier to wrap such as a box- this will make your life easier and your gift will look extra nice), a pair of scissors, wrapping paper, any addition to spice up the gift (such as twine or ribbon), a ruler, a pencil and tape (Scotch GiftWrap Tape works the best).

Next, roll out the paper and place your gift upside down on it. Pull the paper over the gift so it covers a little more than half-way.
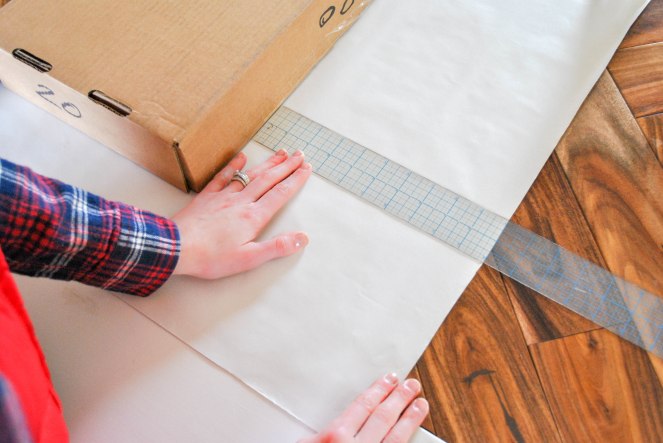
Measure that distance and then roll out the paper on the other side of the gift. Measuring is everything when you want your gift to look perfect!
Mark the distance you just measured and draw a parallel line with the gift. I use my trusty, see-through gridded ruler to make sure my lines are square. I have used it so much the lines are starting to fade! Cut on the line you just drew.
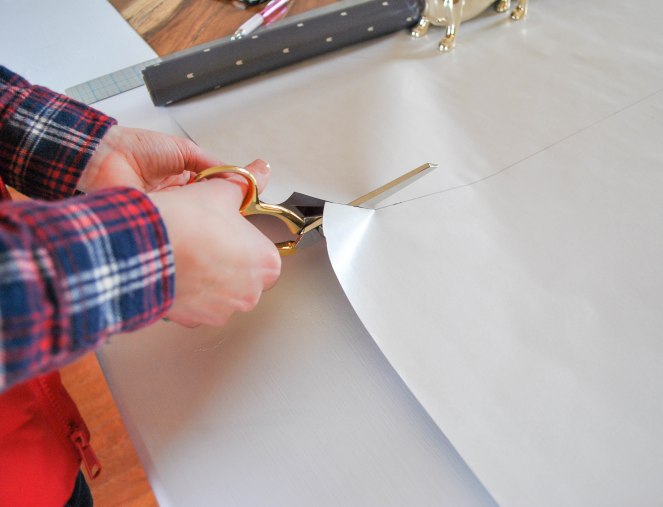
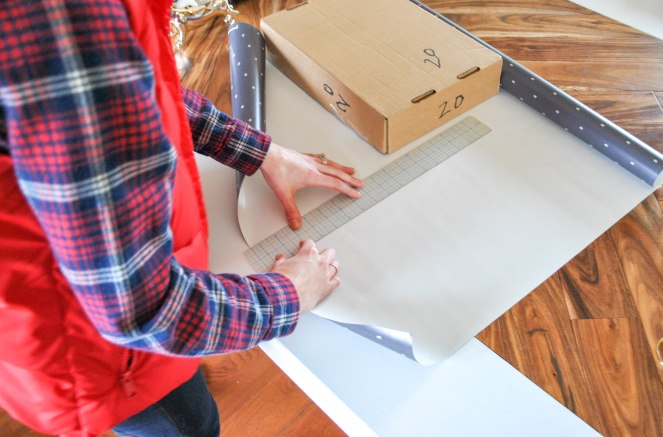
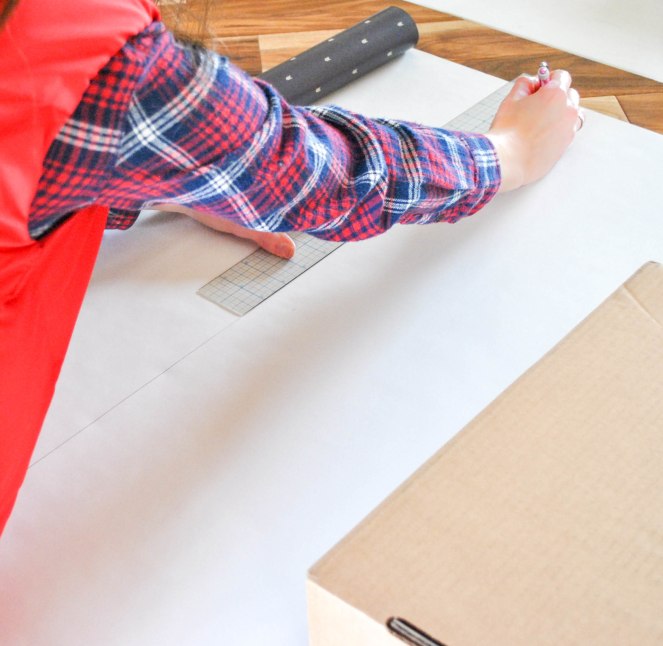
Next, measure the depth of the box. Place the gift that distance from the edge of the paper and then mark that same distance on the paper on the other side of the gift- draw another square line. Cut on the on the line you just drew. Your paper is now the perfect size to start wrapping your gift!
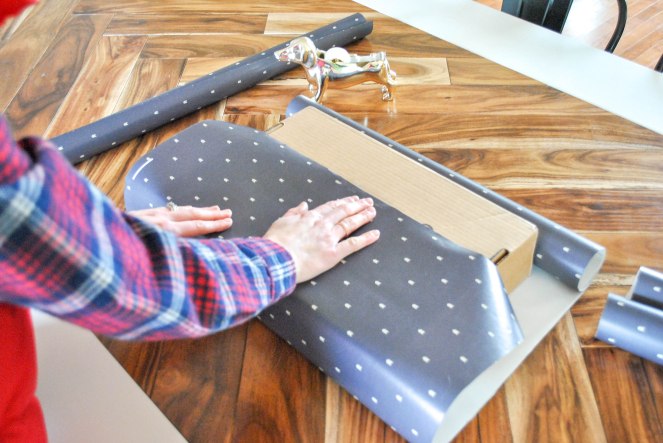
Pull the paper of the gift and tape in the middle. Pull the other edge of the paper over- make sure to turn the raw edge of the paper over and crease to make sure the gift looks polished! Tape this edge down.
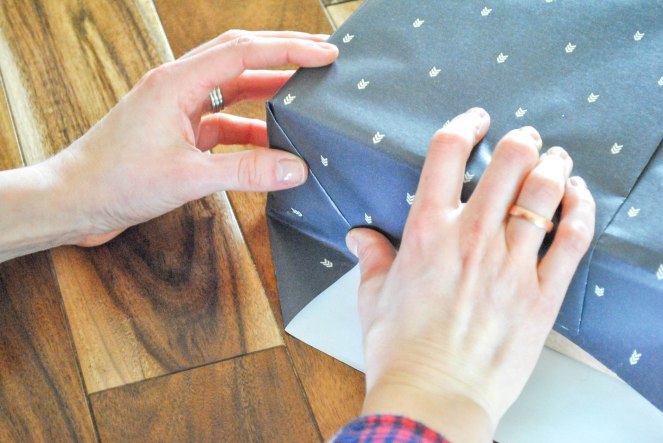
Continue to crease every fold you make and turn under all raw edges that will be seen from the outside.
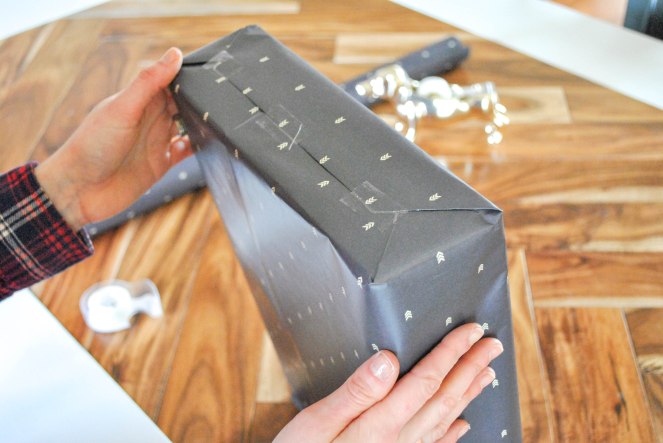
Tape! Mark sure to push the tape down enough so it is invisible- I left it exposed for this picture to show where I placed the tape.
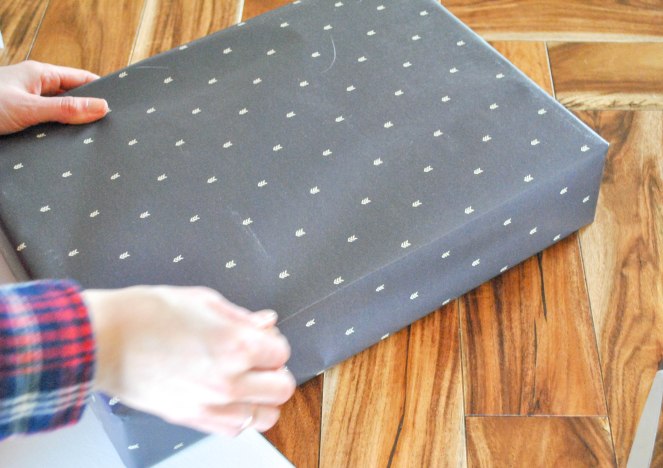
After the gift is wrapped, crease all the edges around the gift so it looks extra polished!
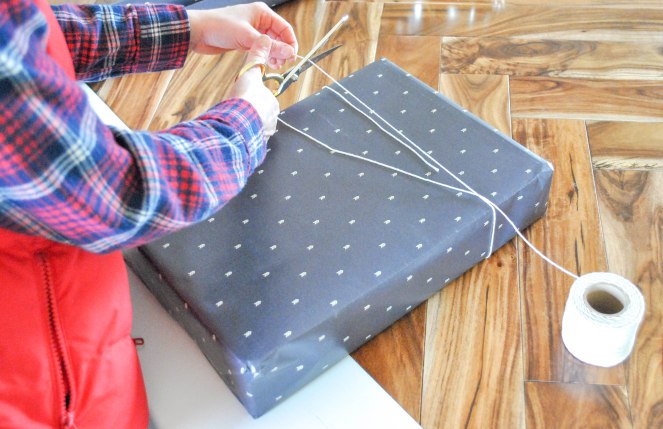
Next, the twine (or whatever accessory you choose). I wrap the twine around the box to get the perfect length and cut.
I then cut another piece this exact length so I have two even pieces. Tie these around your gift.

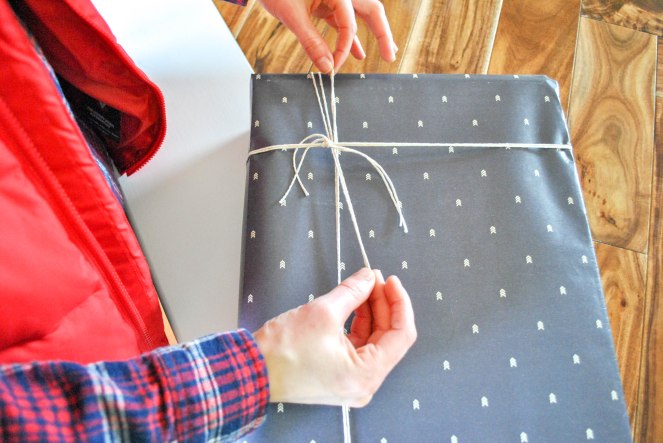
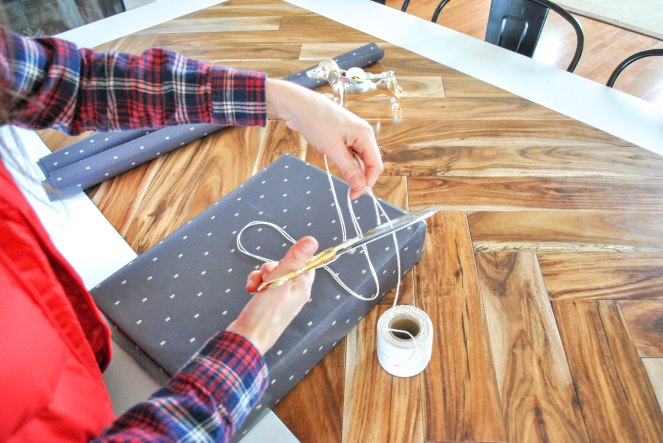
Do this same technique for the long length of the gift. Run this new length of twine under the already tied length and tie another knot.
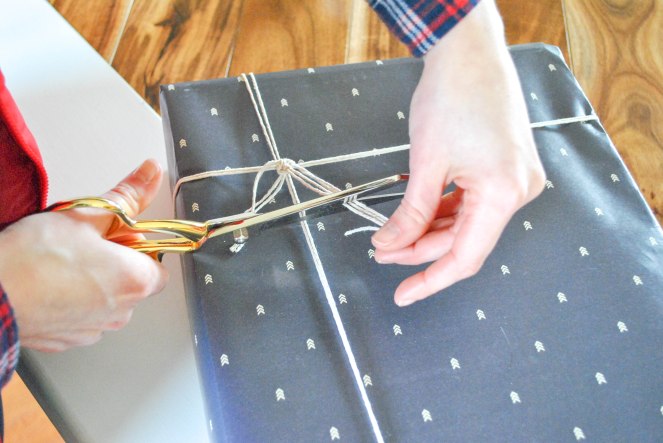
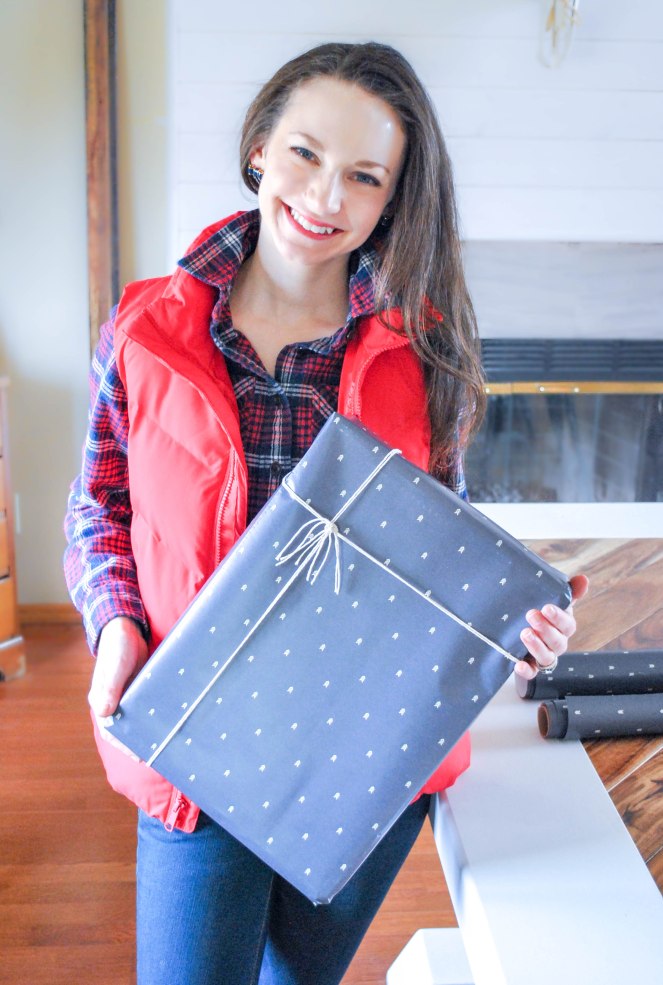
Trim the edges of the twine so they are all the same length. And that is it! You now have a present that looks great from the outside and will wow the person who you are giving it to. I hope this inspires y’all to make sure the gift you give is perfect inside and out! Have a great week!
P.S.- The wrapping paper and tape dispenser are from Target- you can find the paper here and a similar dispenser here.

Great tips! I have trouble wrapping presents nicely so hopefully this will help them look as good as yours!
LikeLiked by 1 person