
Hey guys! I’m so excited to share with you all our finished bathroom renovation! It took about 3 months to complete and we do all of our renovations ourselves (and when I say all I really mean we hire no one to help us- all of this work is completed by us)! That includes removing all of the old plaster, running all new plumbing and electric, removing all flooring (including subfloor where you could see into the basement), and removing the “floating” chimney we found hidden in our wall (more on that later), etc. Now on to the before and afters!

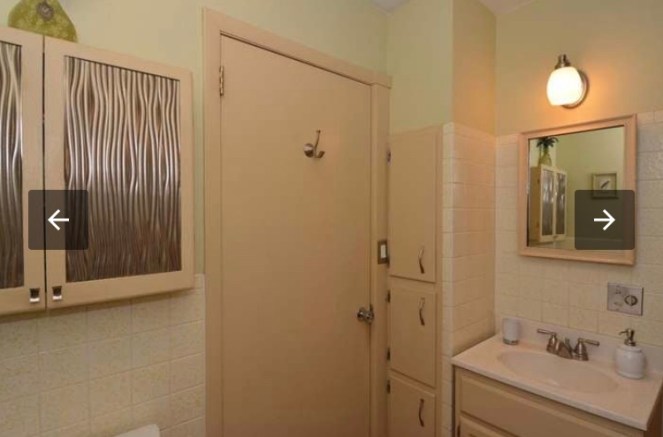
These are the befores- the image on the left is when we started demo and the picture on the right is from the house listing. This bathroom is small- about 7 1/2′ x 7 1/2′ and is our ONLY bathroom in the house! This room has 10′ ceilings which was hidden by a drop ceiling. The shower also had an additional drop ceiling in it that was so short Peter could barely take a proper shower!
And remember the “floating” chimney I referred to earlier? In the second image you will see a built in cabinet. We did not realize that above this cabinet was about 30′ of a cream city brick chimney that ran through the bathroom, into the upstairs office and into our attic! Peter removed it from the attic all the way to the first floor brick by brick. We have now repurposed the brick by extending our back patio with it. I couldn’t let beautiful cream city brick from a 110 year old house go to waist!
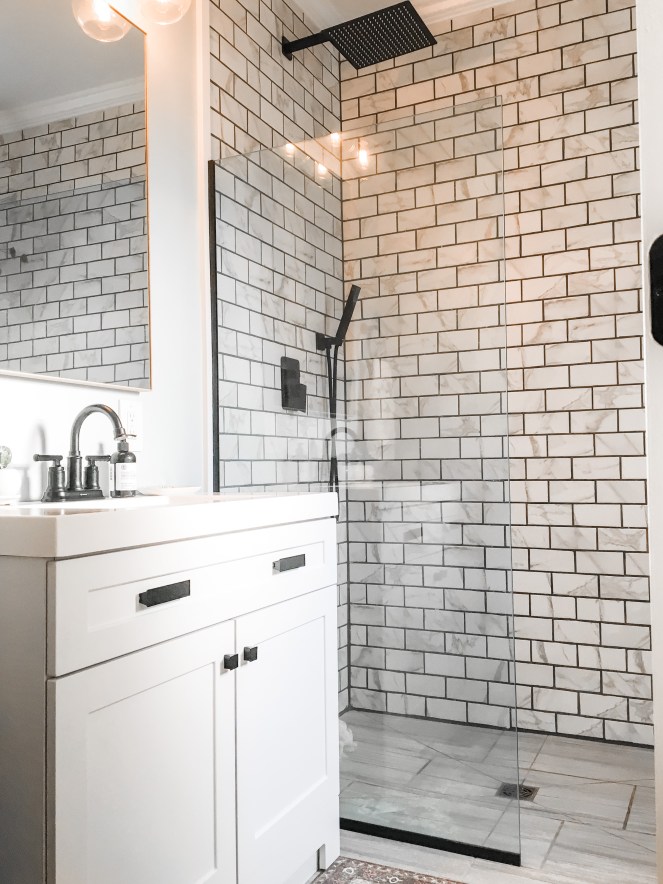
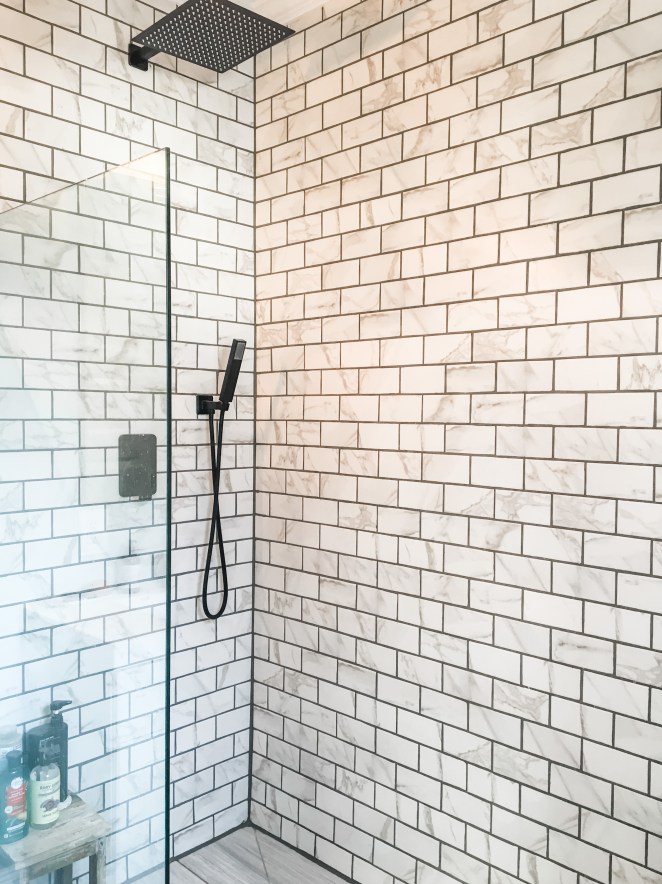
And here’s what the bathroom looks like now! It’s always hard to even remember what it looked like before because we lived through the transformation and saw progress a little at a time. Seeing the before pictures reminds me how far we have come with this space! It’s a room that is calm and refreshing.

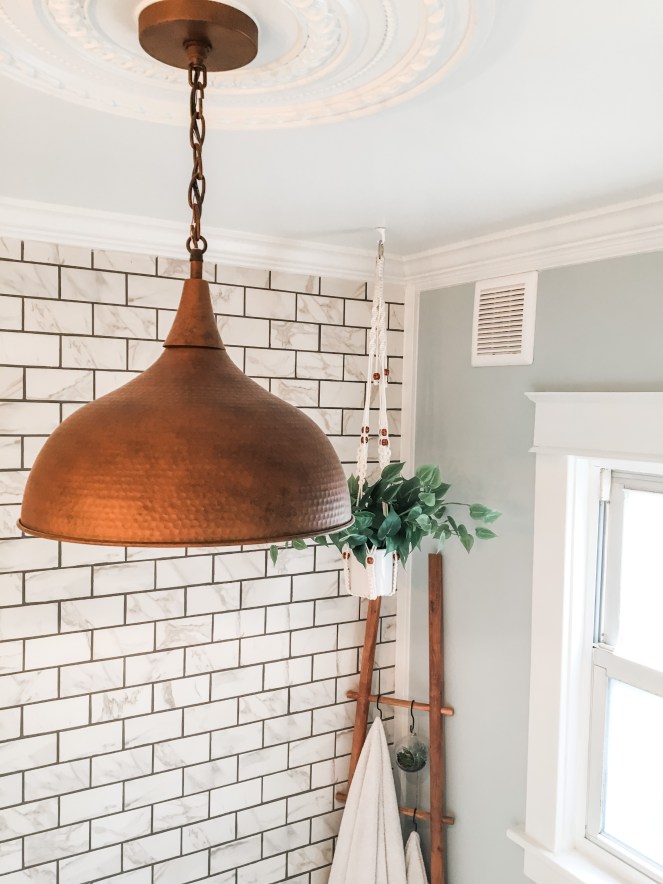
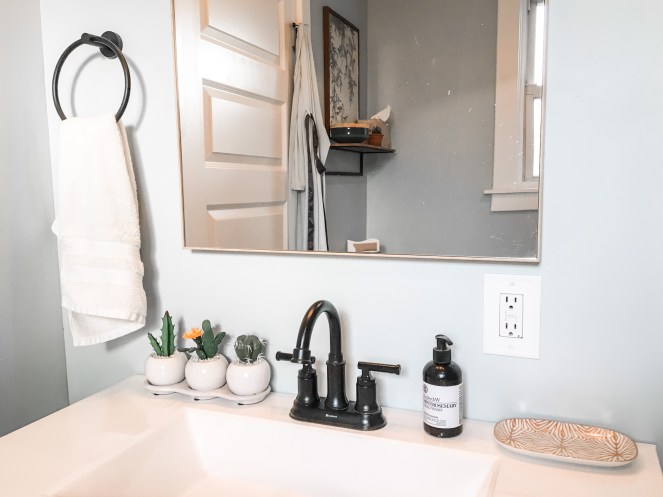
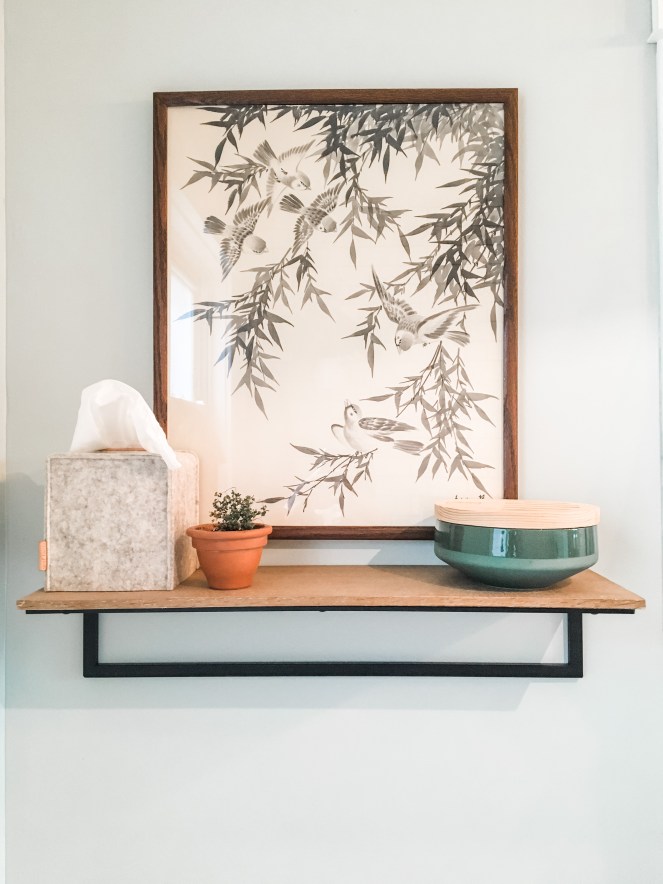
We kept the palette neutral to keep the space calm and fresh. I love to mix grey and beige together to give a space a warmer feel. I did just that by keeping the vanity, walls, floors and fixtures in the grey family and adding in a wood tone mirror, floating shelf, ladder rack and a wicker basket in the beige family. The walls are a soft green, Sea Salt by Sherwin Williams, and I added brighter greens throughout the space with plants for more life.
Here are links to the vanity (we switched out the stock pulls to these and these), faucet, mirror, ladder rack, towels, shower system, towel ring and wood shelf.
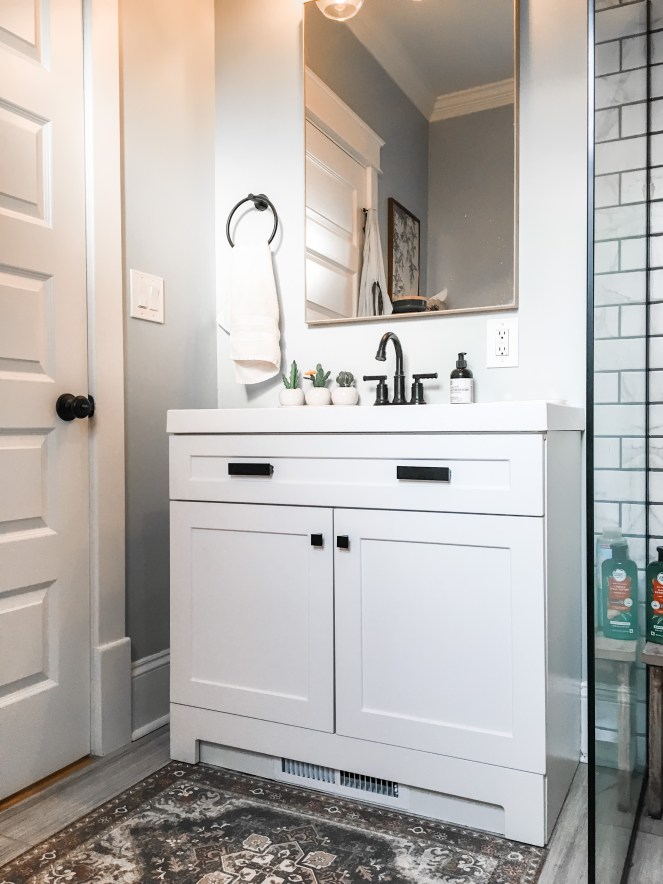
Because the space is so small we decided to remove the bathtub and only have a shower so we could utilize the space as best as we could. We do currently have a 21 month year old and use an inflatable tub for bath time that we store in the basement when not in use. It has worked out extremely well and I have not regretted removing the bathtub at all!
We also decided to install a curbless shower with a single glass panel to make the space seem as large as possible. A curbless shower is not the easiest thing to install but I strongly encourage anyone with a small bathroom to add this feature because it keeps the room open and airy!


That’s it for now- thanks so much for reading! I love finding small space solutions so this project was very fun for me. Do you have any fun projects you’re working on right now? Comment below- I would love to hear your thoughts! And don’t forget to sign up for emails!
~Caitlin~


2 thoughts on “Small Bathroom Renovation Reveal!”